3D printing has been a huge help for me in rapidly refining the design. The look and feel of all the character pieces has been vital to the experience of the game. For the explorers, I needed the light to be directed in such a way to only illuminate what was directly in front of them. If I illuminate too much, then the players would have too much information about the maze. If I illuminated too little, the game would be too difficult to play. I also had to restrict how much was illuminated on the sides and back of the player as orientation is an important aspect of this game.
And so without further ado, here is the evolution of the design of the explorers so far.
First prototype:
This goal of this first prototype was just a feasibility test. I hadn’t thought about orientation at the time. I just wanted to see how much would be illuminated by a single character piece. I had 4 walls printed and this character piece. This worked splendidly in illuminating an area of about 2 inches in diameter in every direction that wasn’t blocked by a wall. If the piece was surrounded by walls on all four sides, it only illuminated what was in that square, nothing past the walls.
Second prototype:
So now that I know it’s feasible, time to add some constraints. I figured I’d go with a larger battery to get as many games in before you need to change the battery but not too big that the character wouldn’t fit in the space. Coin cells batteries also hold their charge for a very long time and are about the size I want for the pieces. So I designed around a 3V CR2032 battery thus creating the second prototype. I was able to get 10 full games played before the battery even began to show signs of losing its charge and the LED seemed dimmer. The initial prototype worked out well and was easy to grab. It was in this prototype that I thought about incorporating orientation as a key mechanic in the game. So I covered up the sides with electrical tape which worked really well.
Third Prototype:
Now electrical tape worked well and all but it doesn’t look pleasing nor would it be good to include as the final product. So I 3D printed a new prototype that had a lot less empty space and was slimmer. I wanted it to be slimmer so that more pieces could fit on the same space as combat and alliances were an essential part of the game. I always wanted the 3D printed part to be able to block the LED and direct all light in front of the player. This one worked well but it was top heavy so it frequently tipped over. Also, there would be no room for any character miniature.
Fourth Prototype:
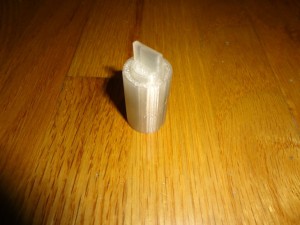
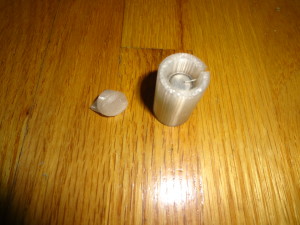
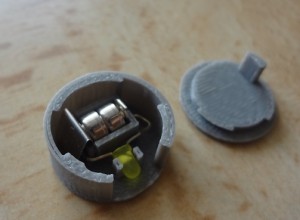
After a poll on board game geek, I found more users preferred small batteries if it meant that they could have more detailed character pieces. In the book “The art of game design” by Jesse Schell, it is important to have consistent and detailed artwork and aesthetics as this adds to the enjoyment of the game. I designed this compact character base. To further reduce parts in the design, I used the case to act as the switch to turn on the LED. By rotating the cap, it completes the circuit turning on the LED. I thought a circular base would better support the characters and help with players moving pieces as they were in alliances but in play tests and in discussions with the artists, a square base was much more preferable.
Fifth prototype:
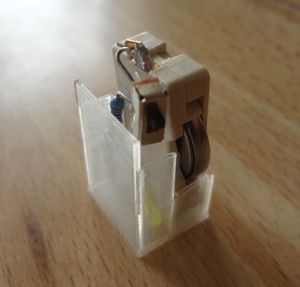
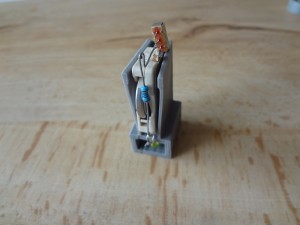
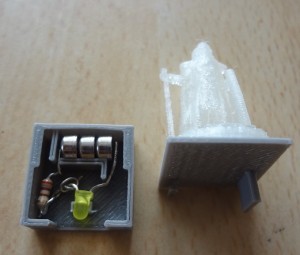
This leads us to our current generation of character pieces. A square base where the cap slides in and then completes the circuit. The character sits on top of the cap. This piece is much better balanced as the majority of the weight is in the base so it takes quite a bit of effort to tip a piece to fall. I’ve added an additional coin cell battery as the light is fairly dimmer to the point it became hard to make out pieces in the game with the 4th generation prototype. So far this piece is playing quite well.
COMMENTS